Showing posts with label DIY. Show all posts

Tuesday, February 18, 2014

DIY: Cards

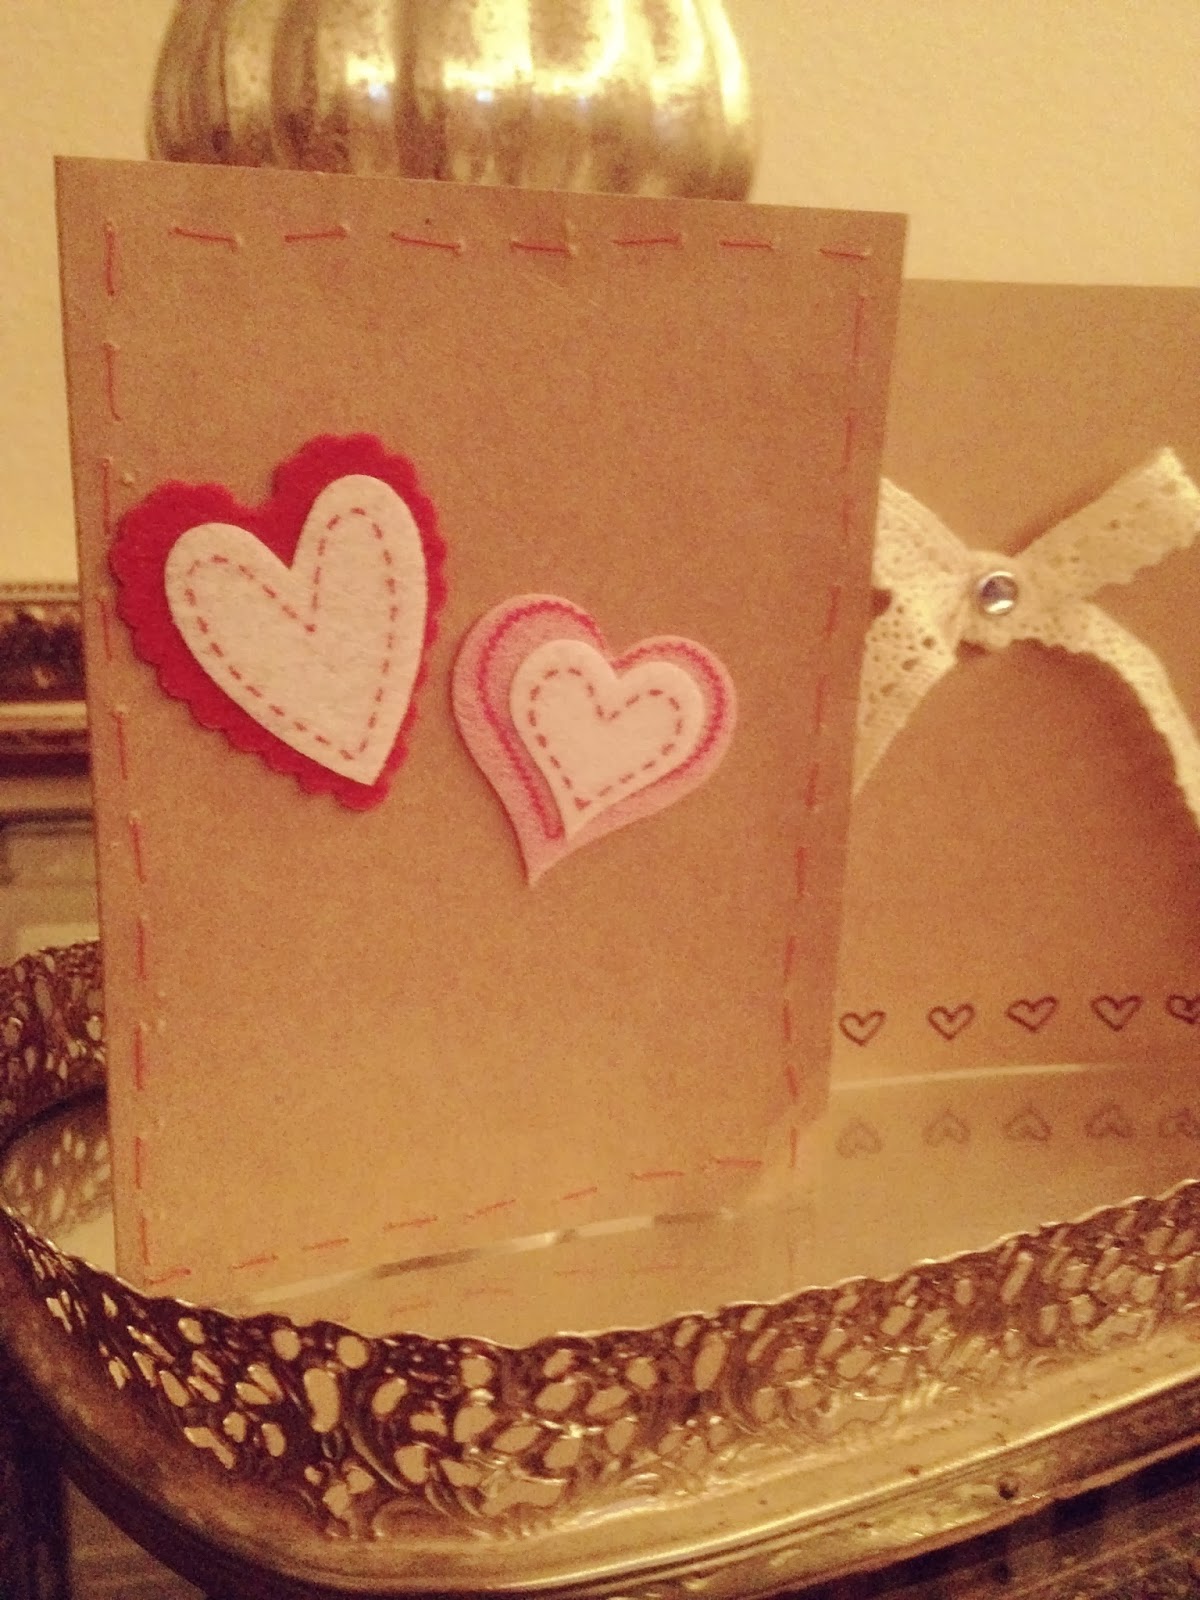
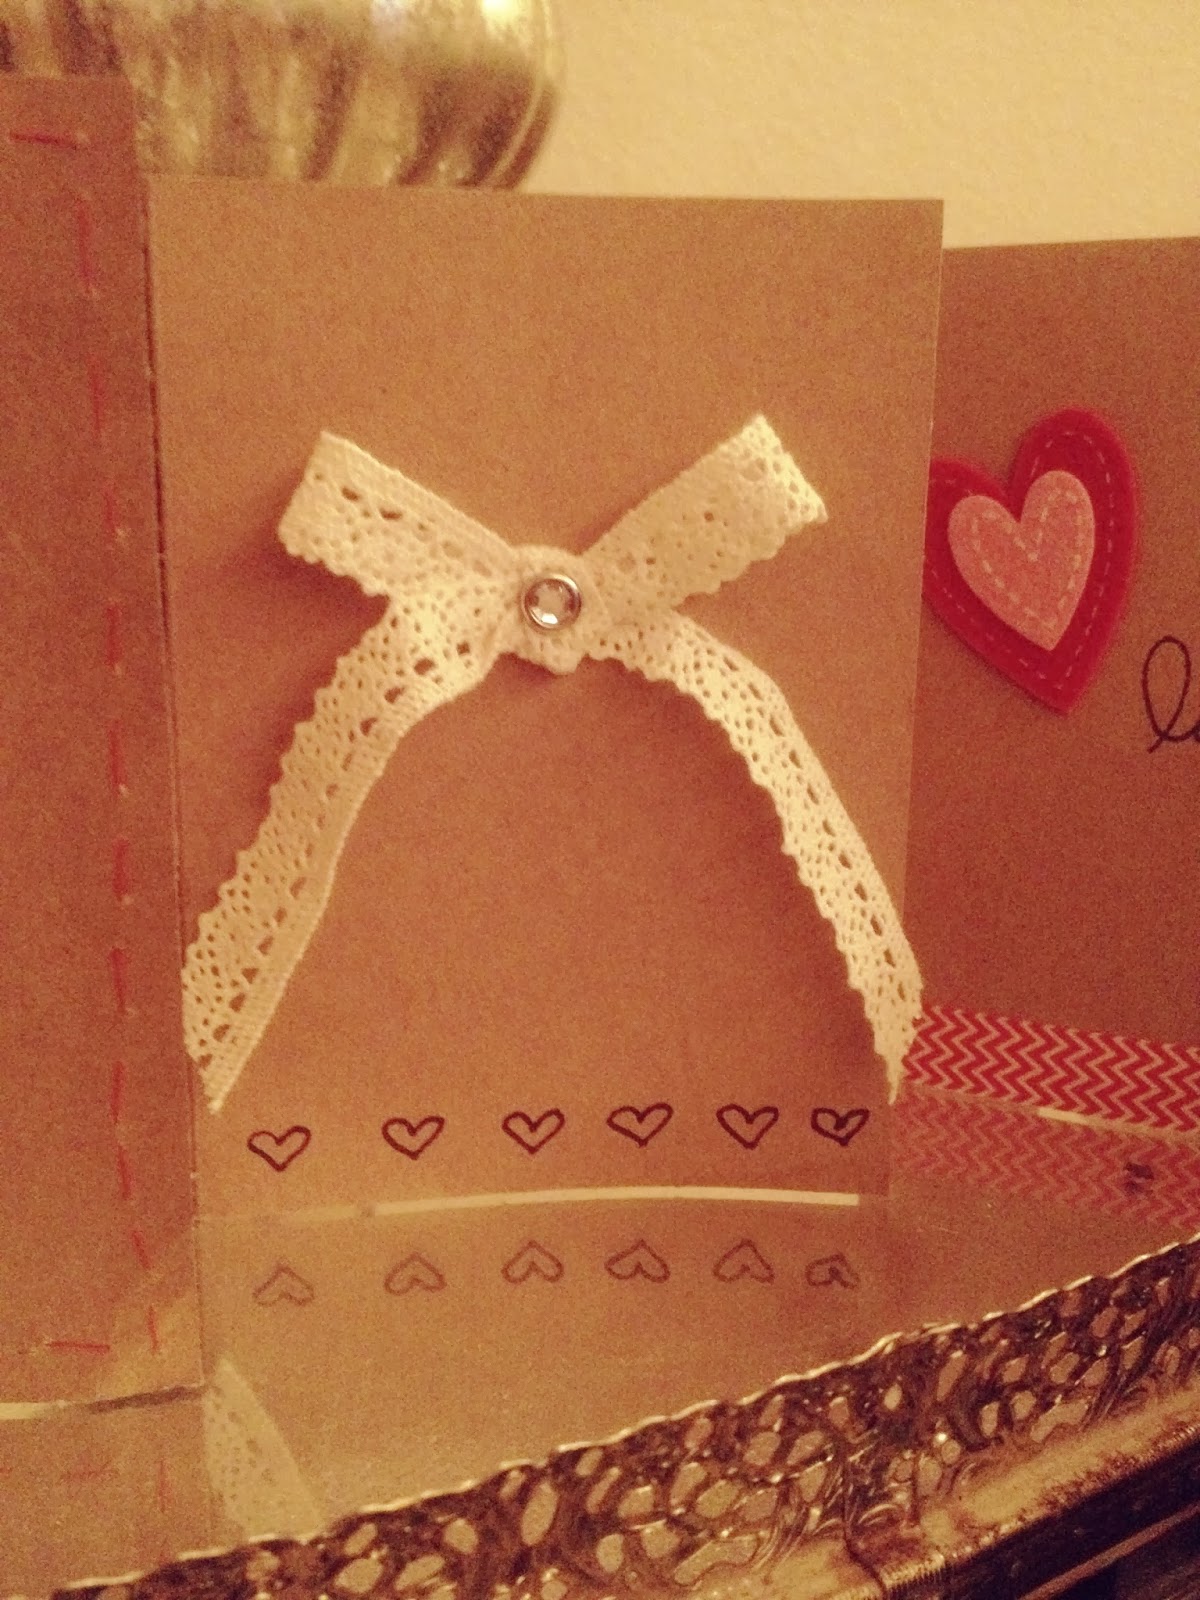
I LOVE making cards,

My Pinterest board is growing with inspirations for handmade cards and I now want to quit college and make cards all day....

Alas, I feel as though no one will support me in this dream so I shall continue my schooling while making cards when I can.

I hope you become inspired by these cards!


-Stephanie

Tuesday, February 11, 2014

DIY: You're My Favoite Book


Hello ladies!

Are you ready for Spring yet? I know I am! I've spent so many days in the house mainly because it's terribly cold out and I have no desire to go out. 

The up-side to long and cold winter days is it gives me time to make and create fun things.

Chris' birthday was this past week and I thought I would share with you what I did for part of his present!


You Will Need:
Paper
Fabric (I used burlap)
Needle & Thread
Pictures

First I cut out 5x5 squares of paper and fabric, I then sewed one square of paper onto one square of fabric making a pocket.


Once I sewed 10 pockets I glued a photograph to the side of paper that was pocketless.


If you want you can print the design I made for the cover!


After I finished all of my sewing and glueing I wrote a little letter/love note for each pocket.


Lastly I punched a whole in the corner of each page and tied them together with ribbon creating the perfect little book!

Homemade gifts are always my go to, and this one took a bit longer but it was worth it!

Stay warm folks!

-Stephanie


Monday, January 27, 2014

Valentines Day: DIY


Love is in the water... or air... or not... either way Valentines Day is quickly approaching, and for those of us who have significant others this can become a stressful gift giving event.

Although society paints us a picture that this special day is for the men to wine and dine the women we simply cannot leave the men out! They deserve some lovin' too! 

Being a full time college student and a full time engaged couple Chris and I are on a tight budget, like many couples, this doesn't mean that your gifts cannot be a smashing success!

Here are 6 DIY Valentine's Day gifts that will woo your man!

1) A homemade mug! 

All you need is a mug, an oven, and sharpies!
Set your oven to 350 degrees.
After you have designed the perfect mug bake it for 30 minuets and you're done!


2) A Jar Of Reasons Why...

For this lovely gift you will need a bag of suckers and a jar!
First you must decide what you want to give reasons for... (i.e. reasons why you're awesome)
Next write a reason for each sucker that you can fit into the jar.
Add some cute decorations and a touch of you!
And bam! You're done!


3)  A More Thought Provoking Gift

Giving a book to your man that you both can learn from is a unique and fun idea!
Choose a book that reflects your relationship and the stage in your relationship is in!


4) The Classic Coupon Book

You may find it cheesy but some guys love cheesy!
Make a coupon book geared just for your man and his needs!
DO NOT FORGET: To put an expiration date on each coupon. 


5) A Picture Is Worth A Thousand Words

Pictures bring back so many memories and will always be timeless. Make a collage of memories that were captured then frame them for a lovely gift.
You can make a picture college and print it for a very reasonable cost on Walmart online.


6) Mix It Up

Last but not least, a mix CD!
Create the perfect playlist of songs that will bring a smile to his face. Add songs that you two laugh about, and cry about, songs that bring back memories and good times. Don't forget to add that song you played on repeat once you realized you loved him.


There you have it! Six DIY gift ideas for Valentine's Day! I hope these have inspired you to spoil your man a little extra on Valentine's Day!

If you needs some more hints or tips on making your man feel special you can check out my other blog post!

Have a happy Valentine's Day!

-Stephanie

Tuesday, January 21, 2014

DIY: Infinity Scarf

 It's -2 degrees out side folks, with a wind chill of who knows, and even for a northern girl like me that's cold!

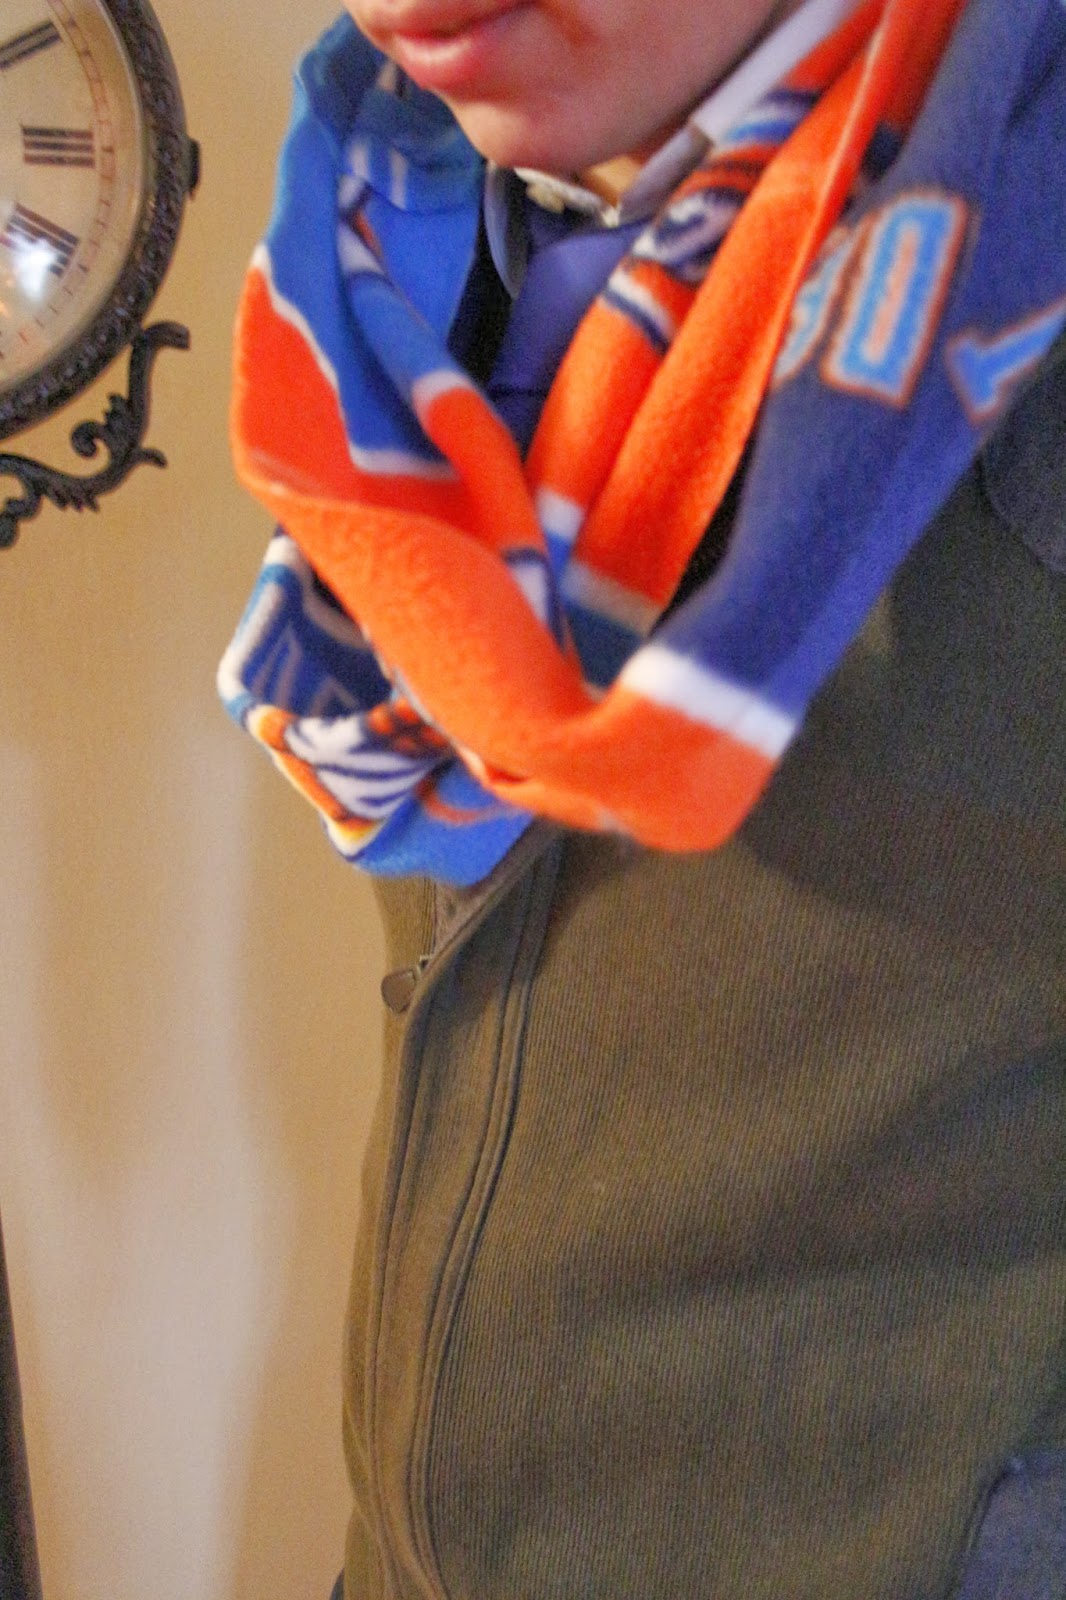
Inspired by the cold and my love for scarfs I decided to try my hand at making my own infinity scarf!

My brother loves the Oklahoma Thunder (hence the fabric choice) but you can use any fleece your heart desires!

Step One

Cut out your fabric to the size and length you want your scarf to be.
The fabric I used was already blocked due to it's pattern.


Step Two

Fold both ends of your fabric together
Sew boh sides together, using a 1/2 inch seam allowance.


Step Three

After stitching your first seem open it.
Zigzag stitch down the middle of your seam.
Once you've completed your zigzag stitch you've fished your infinity scarf! 


My machine settings were set to the following: 


There you have it in 3 simple steps you now have a brand new infinity scarf to keep your neck warm and brace yourself against that wind chill!


If you're having a blast with your sewing machine you might also enjoy learning how to make a pillow case in just a few easy steps! 

I hope you guys stay warm this winter!

-Stephanie

Modeling credit goes to: David, one of my lovely brothers.

Monday, January 13, 2014

DIY: Pillow Case


Hello there!

Today I thought it would be fun to show you how to make a homemade pillow case in just 5 easy steps!

Now before you freak out and click off this blog wait! 

This is such an easy way to sew and I'm confident that anyone can do it, I promise.

You will need:
-Fabric measuring 33x19 1/2" (this can be whatever kind of fabric you want!)
-Sewing machine
-Scissors
-Pins


Step One:

Breathe you can do this!

Start by folding your fabric in half. You will use the folded side of your fabric as one side of your pillow case.

After you have folded your fabric snip your fabric down to 33" long and 19 1/2" wide.


Step Two:

After cutting out your pillowcase it's time to start pinning! And I don't mean on Pinterest...

Turn your fabric inside out.

Starting with the short side first, pin half an inch away from the edge of your fabric.

Once you have pinned the first side sew a straight seem along your pinned line.
(Don't forget to take the pins out as you go!)


Step Three:

You're getting there!

After you finished sewing up your first side of the pillow case repeat step two for the other long side.

You will be pinning the opposite side of your original fold. 


Step Four:

You're in the home stretch!

Once you have sewn up both sides all that should be left is the opening for your pillow.

Fold over 2" of fabric and pin a half inch line all along both sides of the pillow.


Once you are finished pinning, head back to your machine and sew it up!

Follow your pinned line all around the pillow case!


Step Five:

You did it! 

Now slip a pillow into that awesome pillowcase and enjoy! 


These pillowcases, as you now can see, are easy and fun! They also make great gifts for anyone and it's a fun craft for parties!

 I hope you enjoyed this DIY, leave a picture in the comments or a link to your own blog with the pillowcase you've made! 

-Stephanie

Wednesday, December 11, 2013

The Beginning of A Home


I never thought picking paint colors would be so hard.

Call me crazy

I get all anxious and worried and tense.

It's pathetic really.

Why is that so hard? It's not like I could never repaint? It's most defiantly NOT the end of the world, but it feels like it sometimes..


My Fiance has been fixing up the house we are going to live in after the wedding, the house is an hour away from my school and it's killing me. I wish with all my heart I could be at the house working and cleaning and helping! Alas school comes first (lame).

We are going to be living in a little house on a plot of land in Arkansas and it's the cutest thing ever, while it currently needs a little TLC I can't wait to share before and after pictures with you!

Pinterest, I fear, is going to be my fiance's next nightmare. There are just so many grand ideas and DIY projects for home making, and trust me I have pined them all. I never planned my wedding before I was engaged, but I do have some lovely ideas on how to make a house a home.

Now that I realize this post is mainly me rambling I figured I will share a sneak peak of our soon to be homestead covered in the fresh snow fall.

Oh and don't you worry, I finished picking out paint colors!


-Stephanie

Tuesday, November 19, 2013

DIY: Reese's Cheesecake


I love desserts.

What girl doesn't?

This little dessert it the perfect serving size and it quenches your sweet tooth perfectly.

Just 5 simple steps!

You will need:
One box of "Jell-O No Bake Cheesecake"
And (obviously) Reese cups!


Step 1) Place a normal size Reese cup in each cupcake holders.

Step 2) Follow the instructions on the cheesecake box, minus the crust steps.

Step 3) Drop the cheesecake on top of each Reese cup. 


 Step 4) Refrigerate 


Step 5) Indulge yourself with the goodness.


Such a quick and easy dessert for a last minuet event or when you need something sweet! 

**On the top of the cheesecake I added crushed mini Reese's and the pie crust mix.**

Enjoy, and bon appetit! 

-Stephanie

Tuesday, October 29, 2013

Tea Time

I love tea!

I am not a coffee drinker unless it has a lot ton of sugar in it.

Because of my love for all types of tea when I heard of taking a bath in it I though to myself...

"why not?"

The main purpose of taking a bath in green tea is to pull all the toxins from your body. It also is said to help fight cancer infected cells without harming the tissue around it.

So I tried it out and I loved it! I placed in the recommended 5 bags of tea into my running bath water, filling the tub almost to the brim.

Make sure that after your tea bath you do not use any other body wash or lotions because that would defeat the whole purpose of taking this bath! 


If you take a green tea bath I hope you enjoy it as much as I did!

-Stephanie

Thursday, October 10, 2013

Now It's My Turn To Pop The Question...

Besides having the groom and your family with you on your wedding day a bride also needs her girls!

After searching Pinterest for ideas on how to ask my bridesmaids and maid of honor to be in the wedding I finally found one I couldn't pass up!

"Now it's my turn to pop the question... will you be my bridesmaid?"


First I started with a trip to Michaels (can I get an amen!) So here I am face to face with the first craft of many for the future wedding. Onward I walked with my 40% off coupon ready to begin.


In the end the above picture is what I decided on to purchase.
  •  -Small ivory note cards and envelopes.
  • -Brown fold up box.
  • -Double sided tape.
  • -Burlap Gypsy cards.
  • -One Paper pad (My Mind Eye).
  • - Blue paper
  • -Ring pop

I began by cutting my sheets of scrap-booking paper to fit the lid of my ring box. You can use any paper you want I picked this pack because it matches the theme of our wedding. After I measured and cut the paper I wrote on the burlap pieces with a Sharpie pen.


I doubled taped the burlap to the paper then the paper to the lid of the box. After I had all my pieces together I wrote a personal note for each of my girls, and placed it in the box along with the blue stuffing and ring pop.


For my Maid of Honor's box I just changed the wording written on the burlap.


Right before I gave the girls their boxes I opened their ring pop and placed it in the box and tied it off with some lace ribbon.


To add to the memories I also wrote on the bottom of each box as well.


One of my lovely bridesmaids goes to a different college than me so I had to mail her box to her. She was still excited though!


I am so excited to have these girls join Chris and I during our big day! I wouldn't have it any other way! 


-Stephanie